Projects
Projects Overview
Authorium allows agencies to manage document-centric projects (including but not limited to procurements, grants, budgets, legislation, etc.) from the initial request to writing/editing, stakeholder review, submissions, and ongoing contract management.
The core feature of Authorium is Project Templates, which are used to create individual Projects, which inherit documents and workflow from their parent template.
For example, you might create a template specifically for medical device or software procurement, with standard forms for suppliers to fill out. With Authorium you can set this up once, then have those forms automatically Included on all future solicitations of that type.
Both projects and project templates are divided into Workflow Stages. These workflow stages define the project’s lifecycle, from building documents and forms to handling approvals, submissions and evaluations, all the way to contract award and management. The workflow stages of an active project are shown as a timeline beneath the project title.
User permissions can be managed on a per-project or even per-workflow-stage basis. For instance, some team members might be limited to filling out forms during a specific stage while others give input on document creation and evaluating submissions across multiple workflow stages. See Managing Project Members for more on how to manage team members’ access to workflow stages.
Topics in this section:
Creating a New Project Template
Adding Workflow Stages
Publishing & Updating Project Templates
Creating Projects from Templates
Advancing Projects Between Stags
Managing Project Members
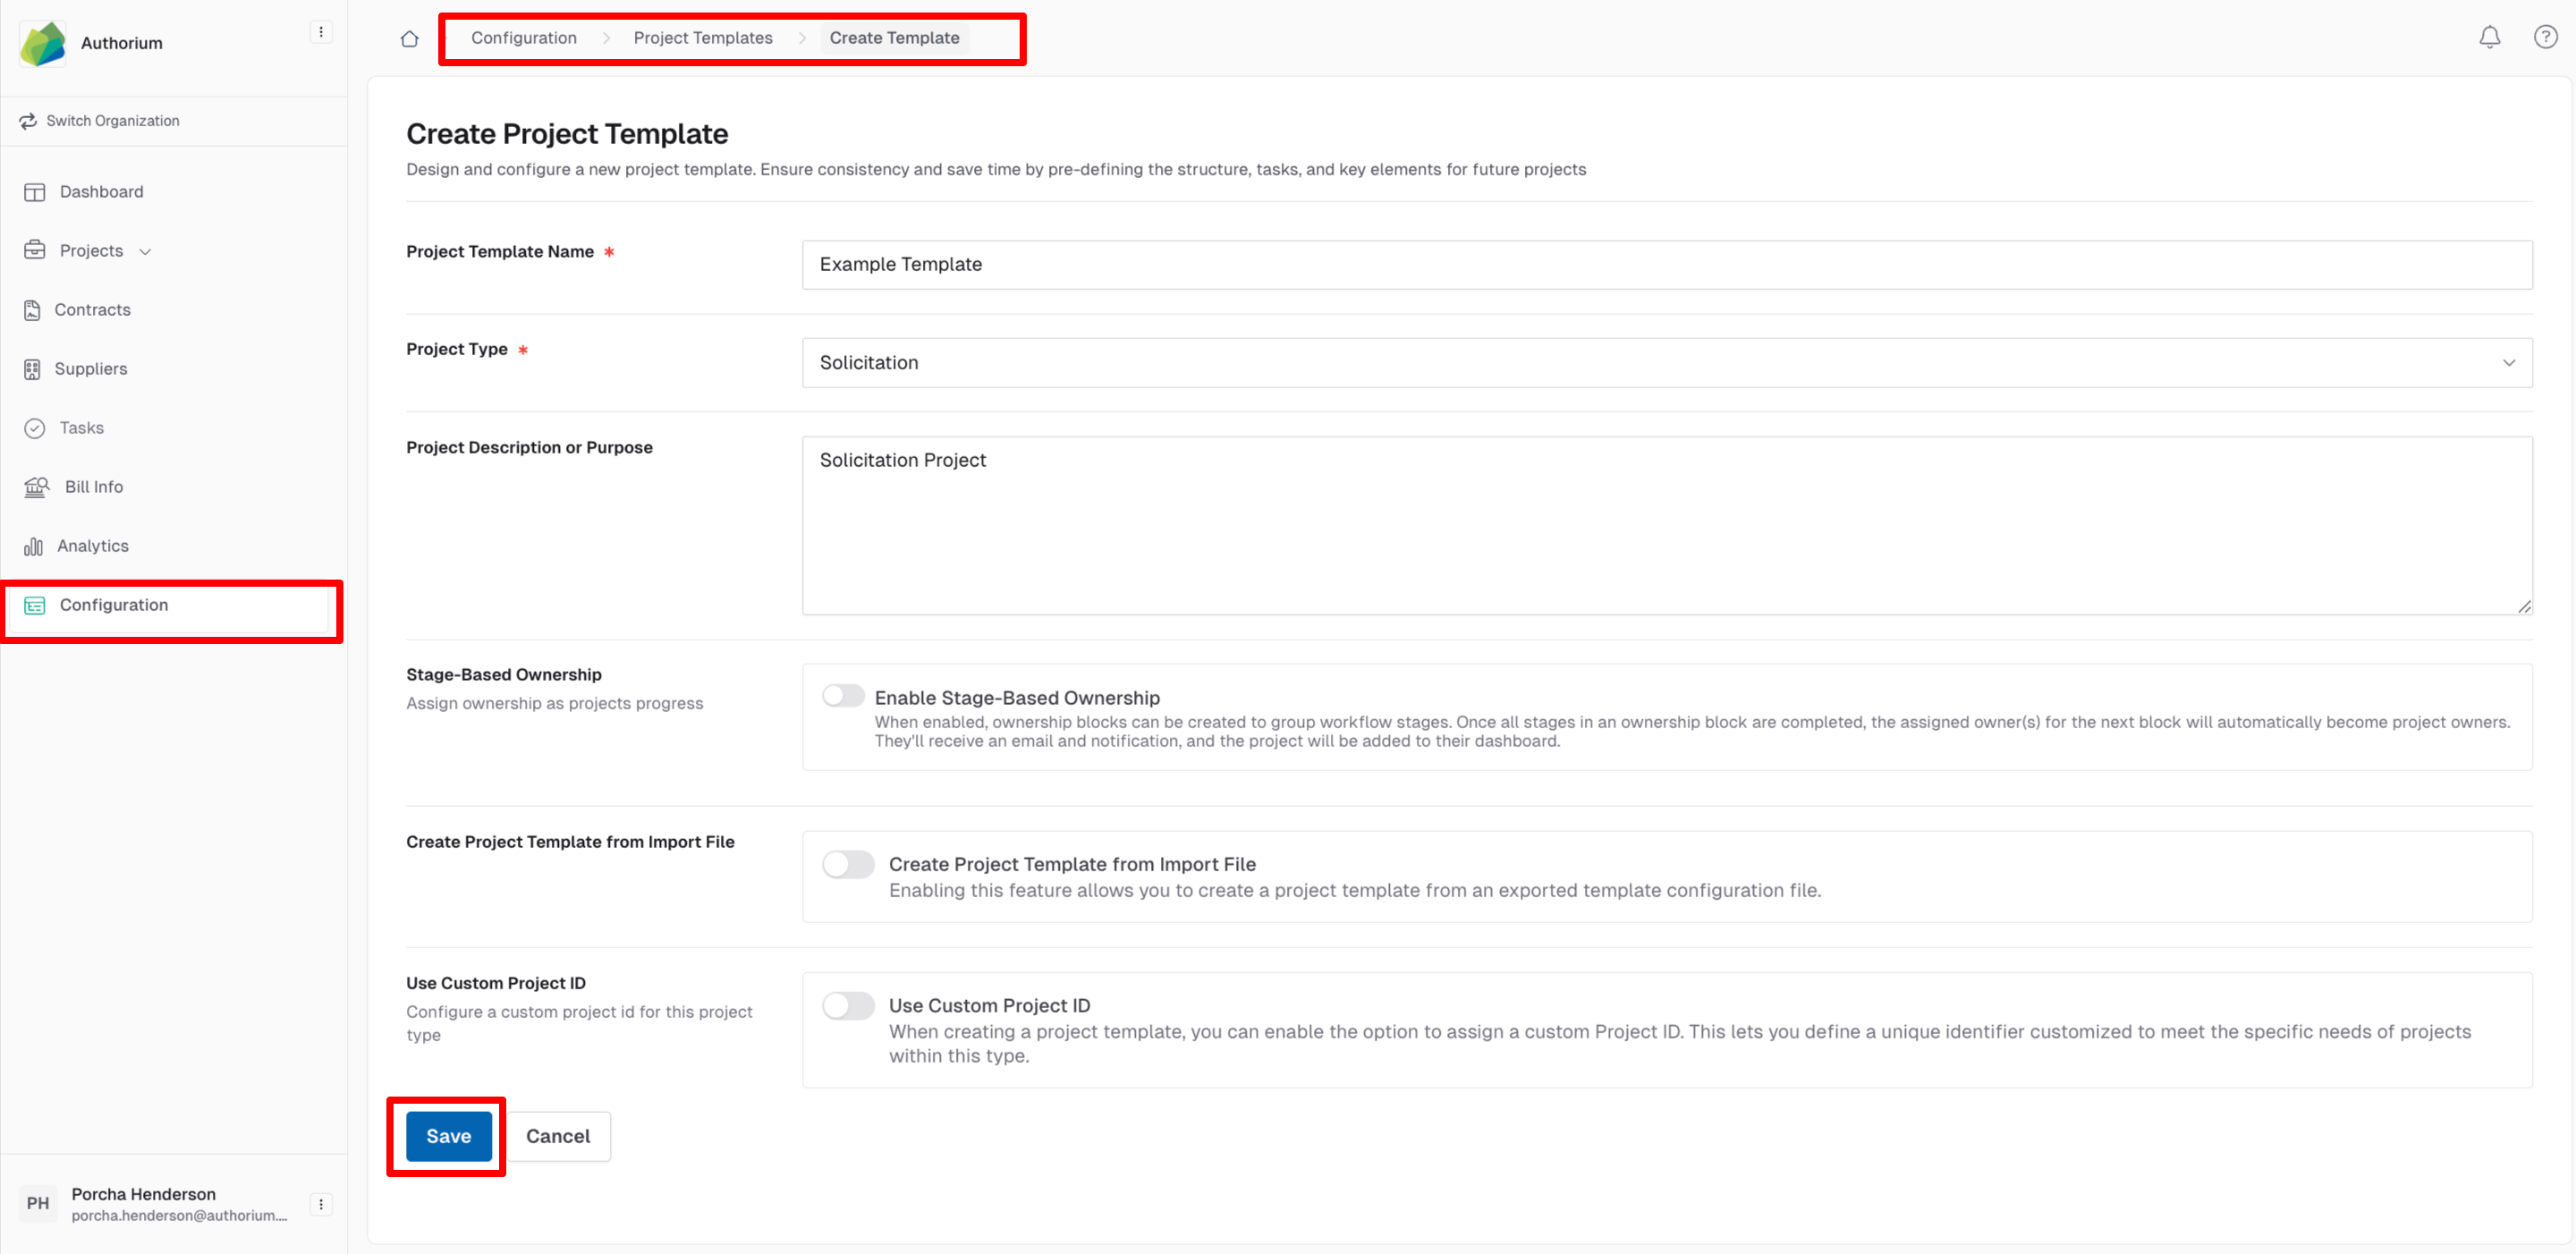
Creating a New Project Template
Project Templates allow for easy re-use of common components and language across all projects built with a given template, minimizing errors and allowing projects to be built and run based on predefined workflows.
Adding Workflow Stages to Project Templates
Project templates are divided up into Workflow Stages which control the whole project’s lifecycle, from preparing the initial documents and forms all the way through to contract award.
There are six different types of Workflow Stage, each with its own function. These six types are as follows:
The Form Builder Stage is where your team creates customized forms for gathering essential project information.
The Collaborative Document Management Stage allows you to add documents to projects, handle approval routing for documents, and control document editing workflows and permissions.
The Multi-Party Project Assignment Stage allows you to assign project members to complete specific child projects.
The Online Submissions Stage is the stage for external suppliers to submit their bids and documentation, and, if Q&A is enabled, ask questions to your team.
The Submissions Evaluation Stage is where you and your team evaluate the submissions received and select a supplier for project award.
Lastly, the Contract Distribution & Execution Stage allows you to manage supplier review and contract issuance, signing and compliance.
To add any workflow stage to a project template, starting from the Configuration screen:
Updating Project Templates allows you to affect all projects built with that template going forward, or even retroactively. When updating a Project Template, you will be able to choose whether or not to update any pre-existing projects that use that template.
Publishing & Updating Project Templates
Once your Project Template is ready for use, be sure to publish it to allow your team to begin making projects with the template.

To make changes after a project template has been published, you will need to unpublish the template, making it unavailable for creating projects with. Once you are finished making changes, you can republish the project template.
To unpublish a project template, starting from the Configuration screen:
Creating Projects from Templates
Once a Project Template has been published, it can be used to set up individual Projects, which inherit documents and workflow from their parent template.
To create a project based on a published project template, starting from the Dashboard:
Workflow Stages control the whole project lifecycle, from preparing the initial documents and forms all the way through to contract award.
When a workflow stage is finished, the project owner will need to confirm and complete the stage, so that the project can move on towards the next milestone. Note that in order to mark a workflow stage as complete, all documents pertaining to the stage must be marked complete.
To advance a project to the next workflow stage, starting from the Dashboard:
 Managing Project Roles & Members
Authorium comes with pre-defined Project Roles with different permissions. For example, only Project Owners and Project Managers can add new project members. Editors can modify project information, while Contributors can’t.
By default, the user who created the project will be the Project Owner, though this can be changed when creating the project or after the fact.
Adding and Editing Project Roles
Additionally the Authorium platform allows you to create specific Project Roles with customized permission. These roles are global and can be added to any project. For example, you might create a “Contract Reviewer” role for members of your legal team assigned to review contract documents, which would be relevant to many different projects.
Note: Some of the default roles in Authorium have permissions that cannot be turned on or off and will be grayed out to indicate this.
Note: Project Roles are separate from Organization Roles (which are discussed under Administrative Features). 
To edit Project Role permissions, starting from the Dashboard:
To add or edit Project Roles, starting from the Project Roles tab:
Configuring Project Member Management
Global Project Members maintain their roles and permissions for the entire project.
Stage Members only have access to specific stages. For example, we may want only certain team members to be able to fill out a particular budgeting form in a specific stage.
Projects can be configured to allow only global project members, or to enable stage-specific project members as well.
To change how a project handles its Project Members, or change the Project Owner of a project, starting from the Dashboard:
Adding Members to a Project & Assigning Project Roles
Project Members are shown in the Members tab. On this page, you can see all of the members of the project, as well as their email, role, and when they were last active. You can also change team members’ roles for the project and remove them, if necessary.
To add members to a project, starting from the Project page:

Related Articles
Authorium Overview
Authorium is a digital platform that modernizes and streamlines collaboration among government administrators by providing a centralized place to create, review, and approve a wide range of documents and contracts - from procurement to budgets, ...User Guide: Global Data Sets
This user guide contains step-by-step instructions for using the feature Global Data Sets. Global Data Sets are reusable collections of data that can be configured for project forms, ensuring consistency, standardization, and efficient data ...Multi-Stage Approvals
Multi-Stage Approvals Overview Authorium helps maintain an orderly workflow for document-centric projects by allowing project owners and administrators to define exactly how and when projects move from one stage to the next. Multi-Step Approval ...User Roles and Permissions
Overview of Authorium’s Permissioning Structure Authorium uses a role-based permissions model at two levels: the organization level and the project level. Organization roles govern platform-wide administrative capabilities, while project roles ...Supplier Lifecycle Management
Supplier Lifecycle Management Overview The Authorium platform lets organizations maintain a centralized directory of suppliers, who can be invited to bid on projects. The directory can be found in the Suppliers section in the main navigation bar. ...